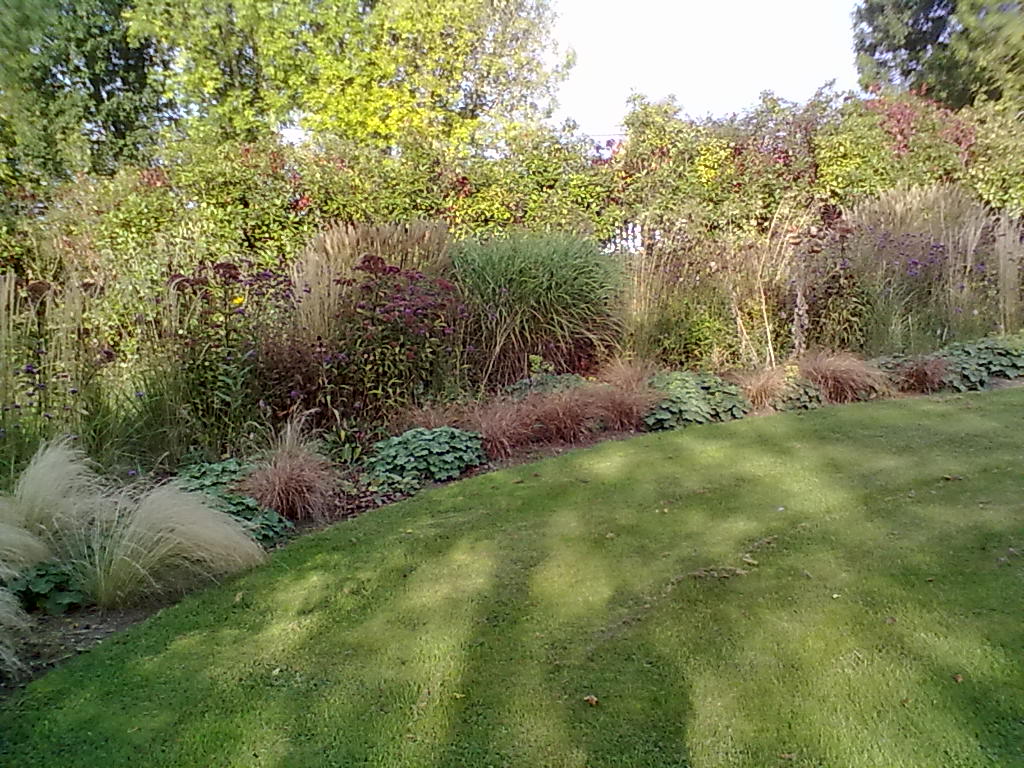
The Photinia hedge behind them has been a bit of a disappointment to me this year, as the garden's owners wanted it to grow higher as a a screen, which means I haven't been cutting it, which means no fresh new red foliage.
Luckily for me, it grew sideways as well as upwards, and just last week I was instructed to clip it back enough so that they could get the mower round the back of the bed in two strips again, instead of the one-and-a-half strips to which it has shrunk.
So there will soon be some red growth on the inside, which will please me. I'm just hoping that there is time for it to freshen up before it stops growing for the winter.

The more I try to take photos for this blog - on the basis that a picture is worth a thousand words, and I am sure that all readers would rather look at one photo than listen to me rattling on for a thousand words - the more I realise the skill that professional plant photographers need to have.
I mean, just look at it! In real life, this is a lush, dramatic bed, with interesting contrasts in foliage, and interesting toning colours.
In this photo, all I can see are the dead brown stems of the cardoon, leaning at ugly angles across everything else.

They both have variegated foliage, each having a white stripe up the centre of the leaf, which is supposed to add cohesion to the planting.
But does any of that show through in the photos? No, they just look a bit scruffy, and rather too close together!
Oh well, such is life. I am not a professional plant photographer!
But I try: and today, here I am showing you about maintenance of annual grasses, as I get a lot of questions on this subject.
The one in question is Stipa tenuissima or Feather Grass.
I have masses of it in these Prairie beds, as it self-seeds generously all around. However, it's very hard to move it once it has established itself, so I have learned to allow the seedlings to grow, then weed out the ones I don't want. I now have "rivers" of it through the beds, and it has become an annual battle to keep the river but prevent, as it were, the flood.
At this time of year, each clump needs a bit of tidying, as the flowering is over, and the fluffy seed heads can quickly become a horrible sodden mass, if we get any rain.
Just chopping off the tops might seem to be the easiest way to deal with them, but it looks horribly unnatural, so a better option is to comb them.
Here is my step-by-step guide to Combing Grasses.

My preferred tool for this is my daisy grubber, but you can use a small hand fork, one of those three-pronged claw tools, or your own fingers. In gloves, of course.
For larger grasses I use a border fork or a rake, but these smaller ones are better done by hand.

1) Gather the clump together, from the base, and pull it over to one side.
I am doing this right-handed, so I am holding the grass in my left hand. Reverse positions if you are left-handed.
Immediately, you can see the difference between the fresh green stems at the bottom, and the dead brown/white stems at the top.
You can see the daisy grubber there on the ground, ready for use.

2) Now start to rake from right to left, pushing the tool in to the clump and running it straight up the length of the stems.
I do this quite quickly, over and over again, and you need to push quite hard once the dead stems start to come out.
They quickly work their way up the bundle of grass towards your other hand.


4) Here you can see what a mass of dead stuff is building up.
It's important not to let go of the bunch too soon! Hold on to it, and keep combing upwards.

And here is the finished article on the left, below - much more green than brown now, and no danger of the seed heads forming a soggy brown mass. The 'Before' picture is to the right, so you can see the difference.

After half an hour of work, I had filled a wheelbarrow with the combings. Then all I had to do was get the spring rake, and carefully - and gently - rake between all the clumps to remove all the stray dead stems.
Job done! And well worth the effort.
Did you enjoy this article? Did you find it useful? Would you like me to answer your own, personal, gardening question? Become a Patron - just click here - and support me! Or use the Donate button for a one-off donation. If just 10% of my visitors gave me a pound a month, I'd be able to spend a lot more time answering all the questions!!
No comments:
Post a Comment
Comments take around 2 days to appear: please be patient. Excessive SPAM has forced me to restrict comments to just Members: if you have a question, you can become a Member: or you can hop over to Patreon and join me there: or you can email me direct - my email address is in the right-hand pane. Sorry about this, but honestly, the spam! I'm drowning in it!!
Note: only a member of this blog may post a comment.