So there! Yes, yes, I know that there are times and places where ivy is useful, and I am fully aware of the wildlife value, but any walk around any town or village will reveal acres of the stuff, along with an underplanting of nettles, down every back alleyway, every undeveloped site, every neglected corner... there's really no need to allow ivy and nettles to spoil the look of our precious small domestic gardens, when there is so much of it around. Despite what the trendy TV Gardeners may say!
Anyway, this was a small border that I was refreshing for a Client: they were tired of it, and wanted more colour in winter, and in particular they wanted berries up the wall, instead of the current decorative ivy.

Oh, the ivy had been chopped back every few years, when it swallowed up the windows, so although only three foot high, it had a massive root system.
The whole bed is north-facing so it doesn't get much light, it's under wide eaves so it doesn't get much water, and it's out of sight of the house, so it doesn't get much attention.
However, the Client was prepared to put some effort (mine) and money (theirs) into it, so I prepared a planting plan, had it approved, then sent the Client out shopping for new plants, while I got to work.
Firstly I cleared away all the unwanted planting, digging out all the honeysuckle roots in particular. Then I cleared away as much soil as I could from the massive root of the main ivy plant.
 Here is the result, with my trowel to give you an idea of the scale.
In cases like this, you need to get out a decent amount of the roots to prevent regrowth, but you don't need to clear all the long roots.
I find it's best to expose the roots like this, by digging with a fork to start with, then on your hands and knees: then cut off all those roots as close as you can to the main root, then pull them out of the soil as much as possible.
If you can't get them free, or if - as in this case - they run under the grass, just chop them off as far out as you reasonably can.

Note the interested bas-relief texture of the wall on the reverse of the plant!
I saved the best of the Alchemilla, to be replanted later, and some of the Lily of the Valley, but every other scrap had to go.
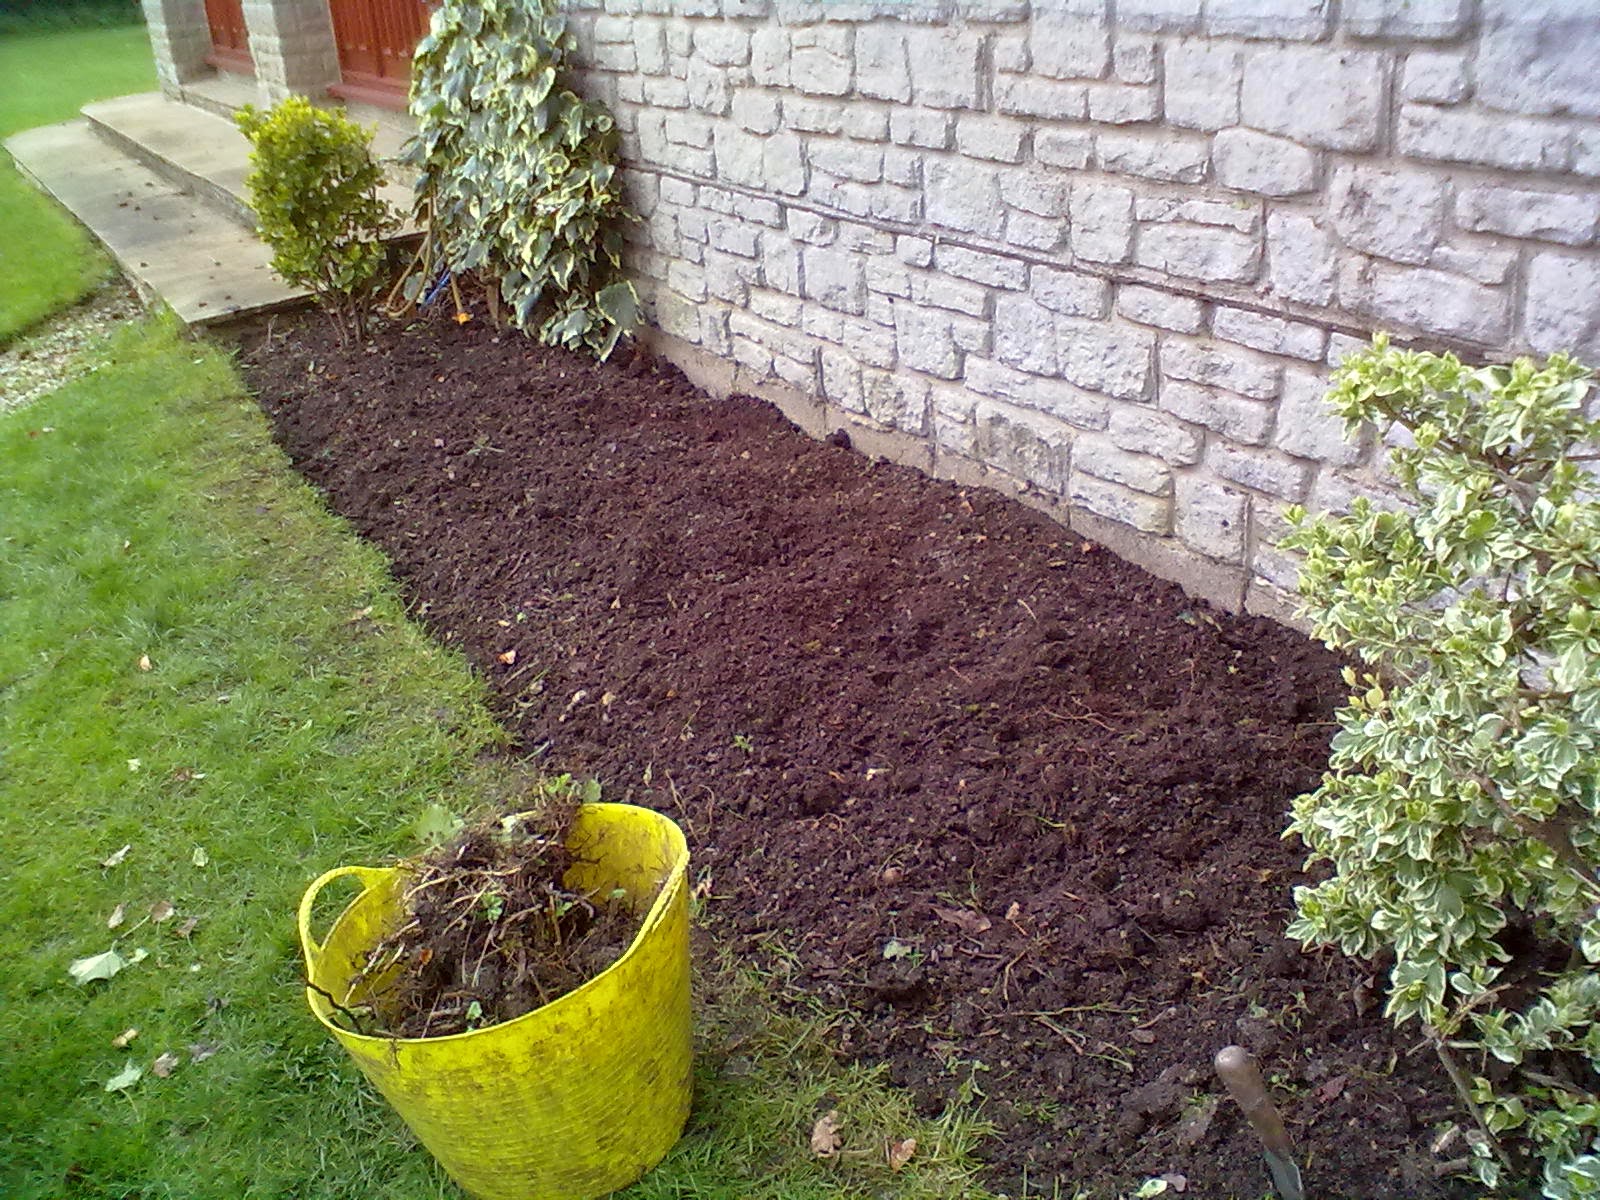
Once I'd cleared it, I did a raid on the compost bins, added a big load of organic matter, plus a couple of fist-fulls of Bonemeal and some slow release pelleted chicken manure which I found in the shed. It smells revolting, but once you dig it in, it's gone, and it will give this rather tired soil a good boost.
So there we are, all ready for the new plants!
No comments:
Post a Comment
Comments take around 2 days to appear: please be patient. Excessive SPAM has forced me to restrict comments to just Members: if you have a question, you can become a Member: or you can hop over to Patreon and join me there: or you can email me direct - my email address is in the right-hand pane. Sorry about this, but honestly, the spam! I'm drowning in it!!
Note: only a member of this blog may post a comment.